

Deploy in AWS
Learn how to deploy your first TrapEye instance in Amazon Web Services (AWS). This guide focuses on the manual deployment through the AWS Management Console, but the same workflow applies when using IaC tools such as Terraform or the AWS CLI.
Create a New Instance
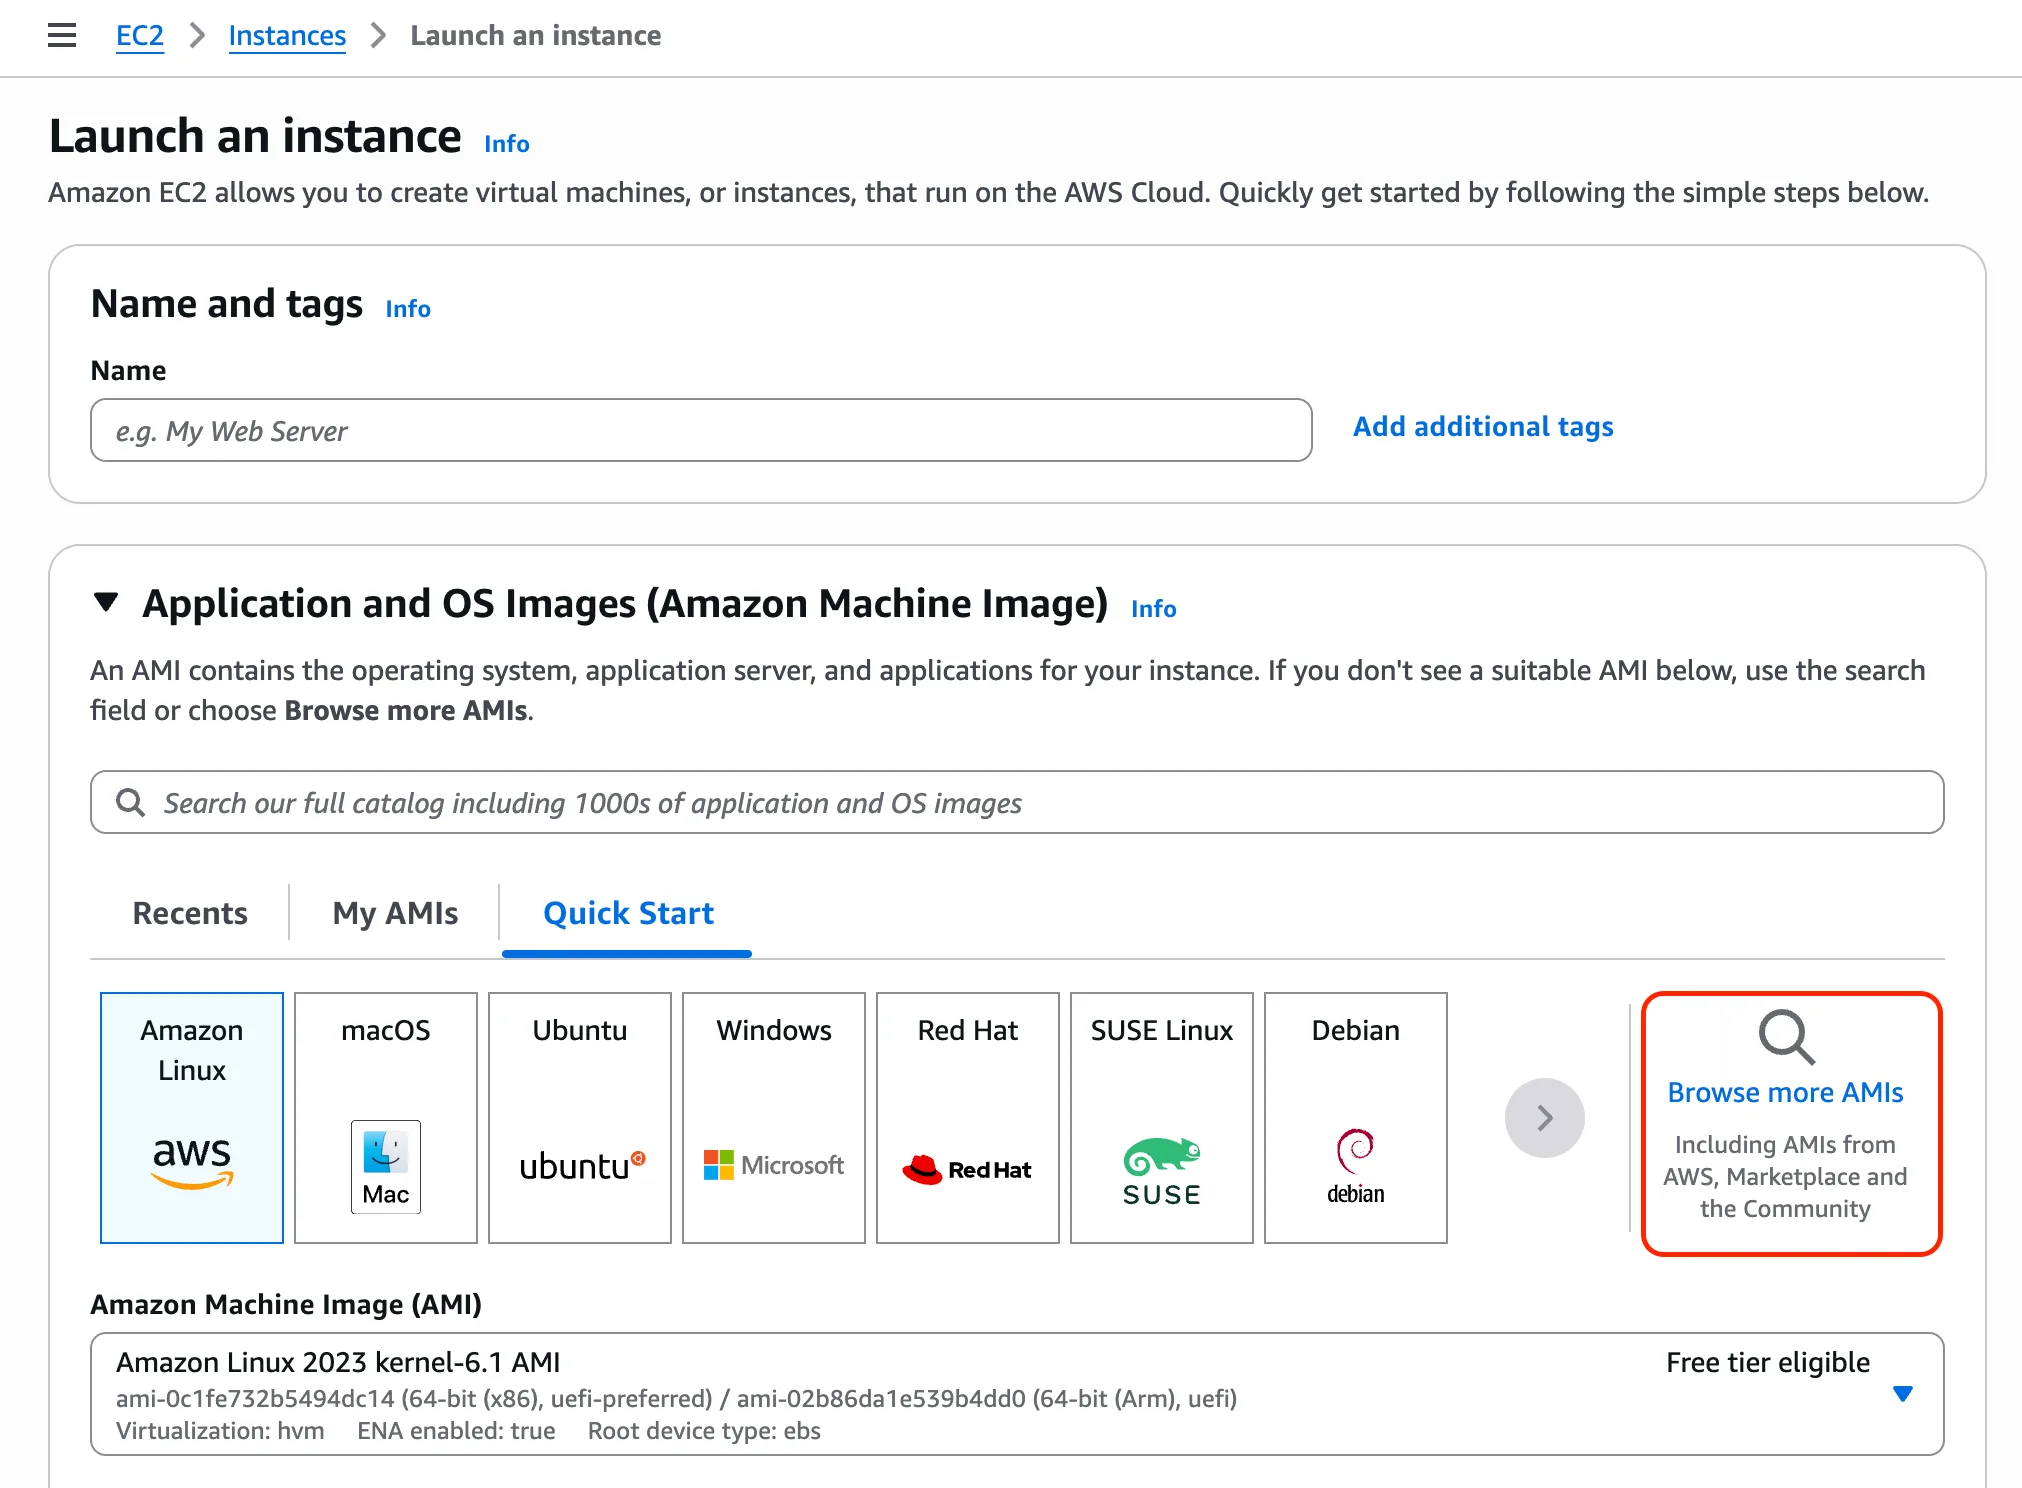
Section titled “Create a New Instance”Navigate to the EC2 Dashboard in the AWS Console.
Click on Launch an instance to begin the creation process.
Under the Application and OS Images (Amazon Machine Image) section, click on Browse more AMIs.
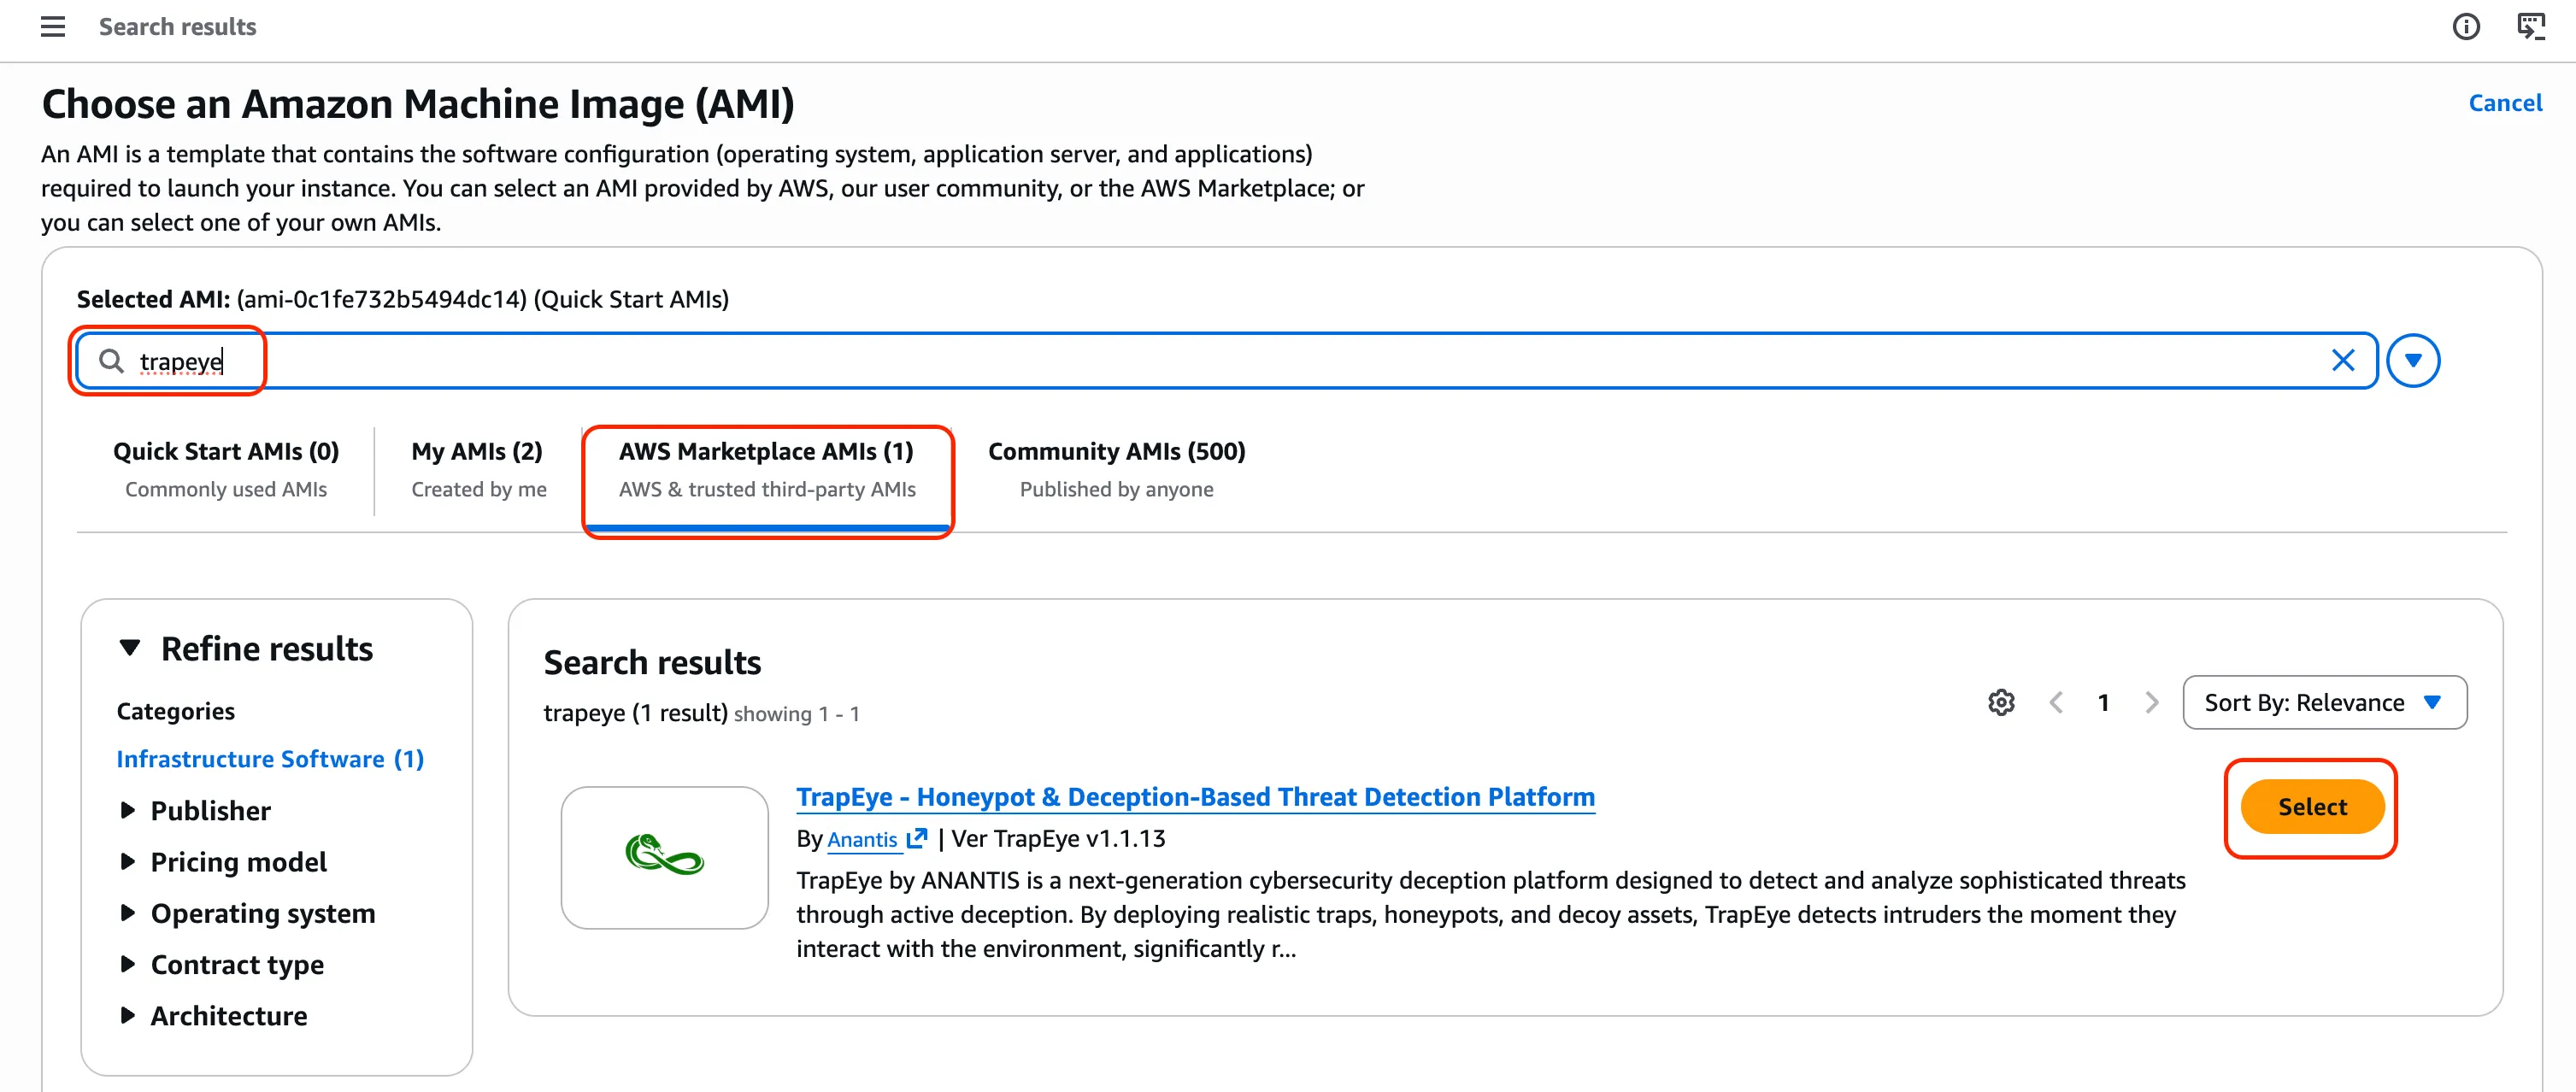
Select AWS Marketplace AMIs and search for “TrapEye”. Select the official TrapEye image from the list.
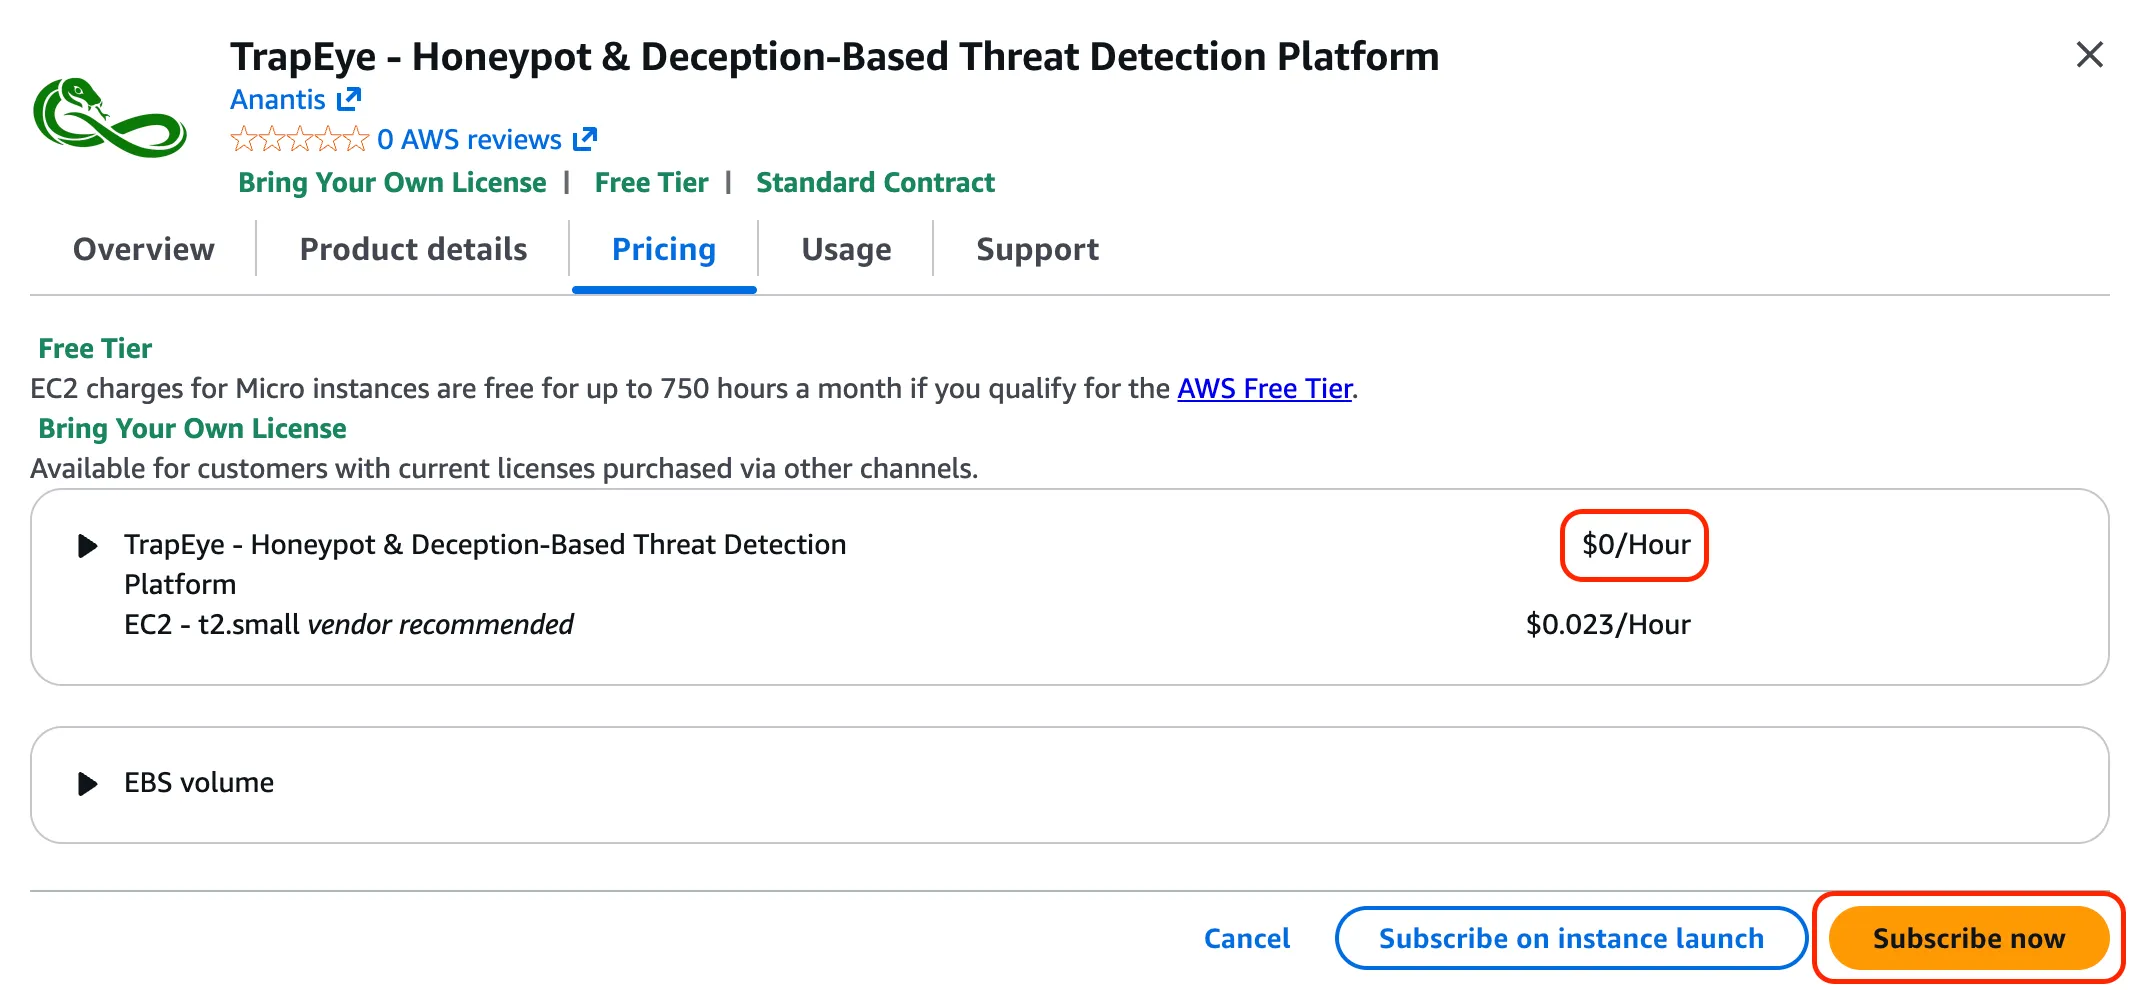
Click Subscribe now (or “Continue” if already subscribed).
Note: The subscription process via AWS is free; licensing is handled via the TrapEye platform.
Choose an Instance Type using the recommended values below:
Resource Minimum Value Recommended Value CPU 1 vCPUs 1 vCPUs Memory 1024 MiB (1 GB) 2048 MiB (4 GB) In the Key pair (login) section, choose Proceed without a key pair.

In Network settings, click Edit (if necessary) and select the VPC and Subnet where you want to deploy the trap.
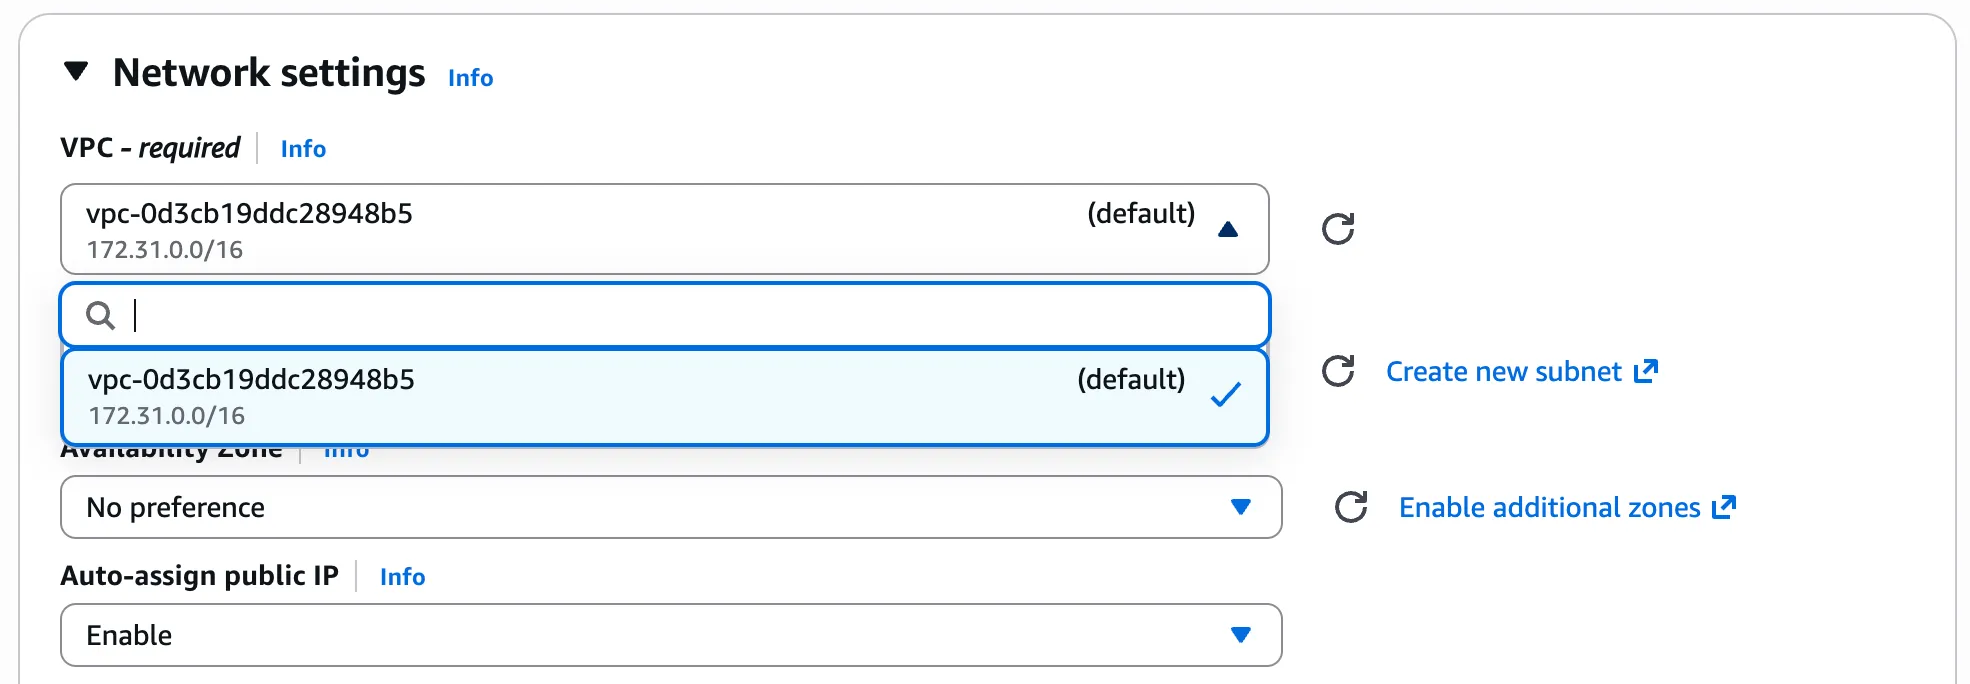
You may select the default Security Group. Since TrapEye is intended to interact with your internal network, there is no strict requirement to expose specific ingress ports unless you are configuring specific deception services.
From the TrapEye Platform, go to Management → Installation and copy the values for
entity_uuid,auth_tokenandurl.Expand the Advanced details section. Scroll down to the User data field.
Replace the placeholder values in the template below with your TrapEye configuration parameters, then paste the final result into the text box.
#cloud-configwrite_files:- path: /etc/trapeye/auth-config.tomlpermissions: '0600'content: |entity_uuid = "ENTITY-UUID-HERE"auth_token = "ENTITY-TOKEN-HERE"url = "INGESTION-URL-HERE"Example:

Click Launch instance to provision the virtual machine.
Setup complete
Section titled “Setup complete”Your TrapEye virtual machine has been successfully deployed in AWS.
It will now appear in the Devices section of the TrapEye Deception Platform, and you will begin receiving real-time alerts as soon as any activity is detected.