

Deploy in Azure
Learn how to deploy your first TrapEye instance in Microsoft Azure. This guide focuses on the manual deployment through the Azure portal, but the same workflow applies when using IaC tools such as Terraform or the Azure CLI.
Create a New Virtual Machine
Section titled “Create a New Virtual Machine”Navigate to Network foundation -> Virtual networks and select the private network where your TrapEye agent will be deployed.
Write down the
NameandLocationof the private network, you will need this information during the vm creation process.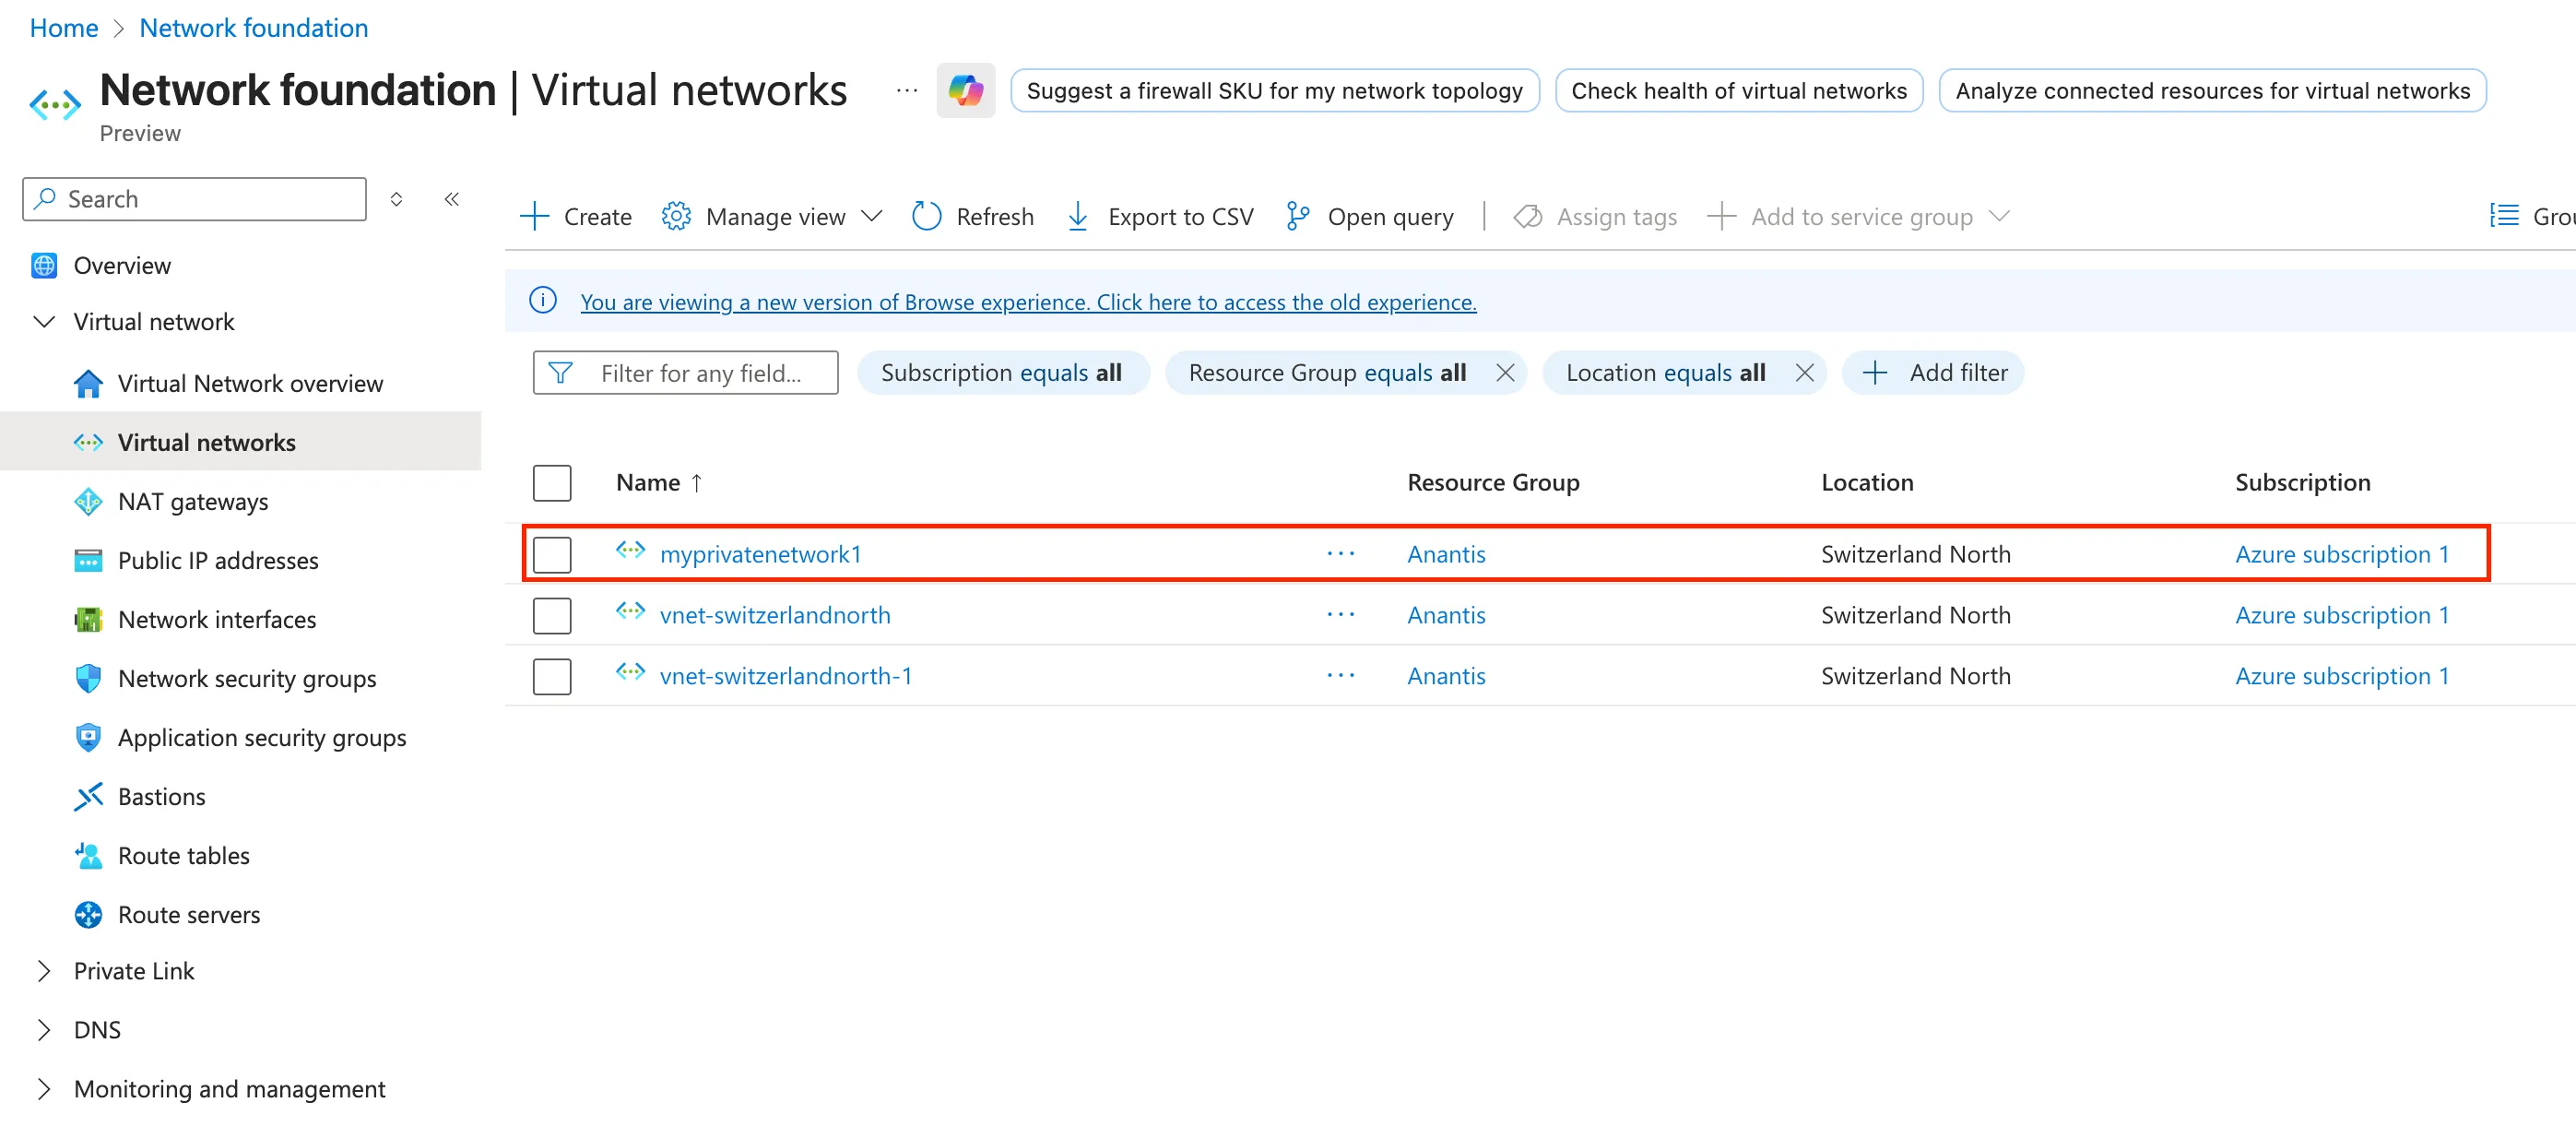
From the Virtual Machine section, click on
Create -> Virtual machineto start the virtual machine creation process.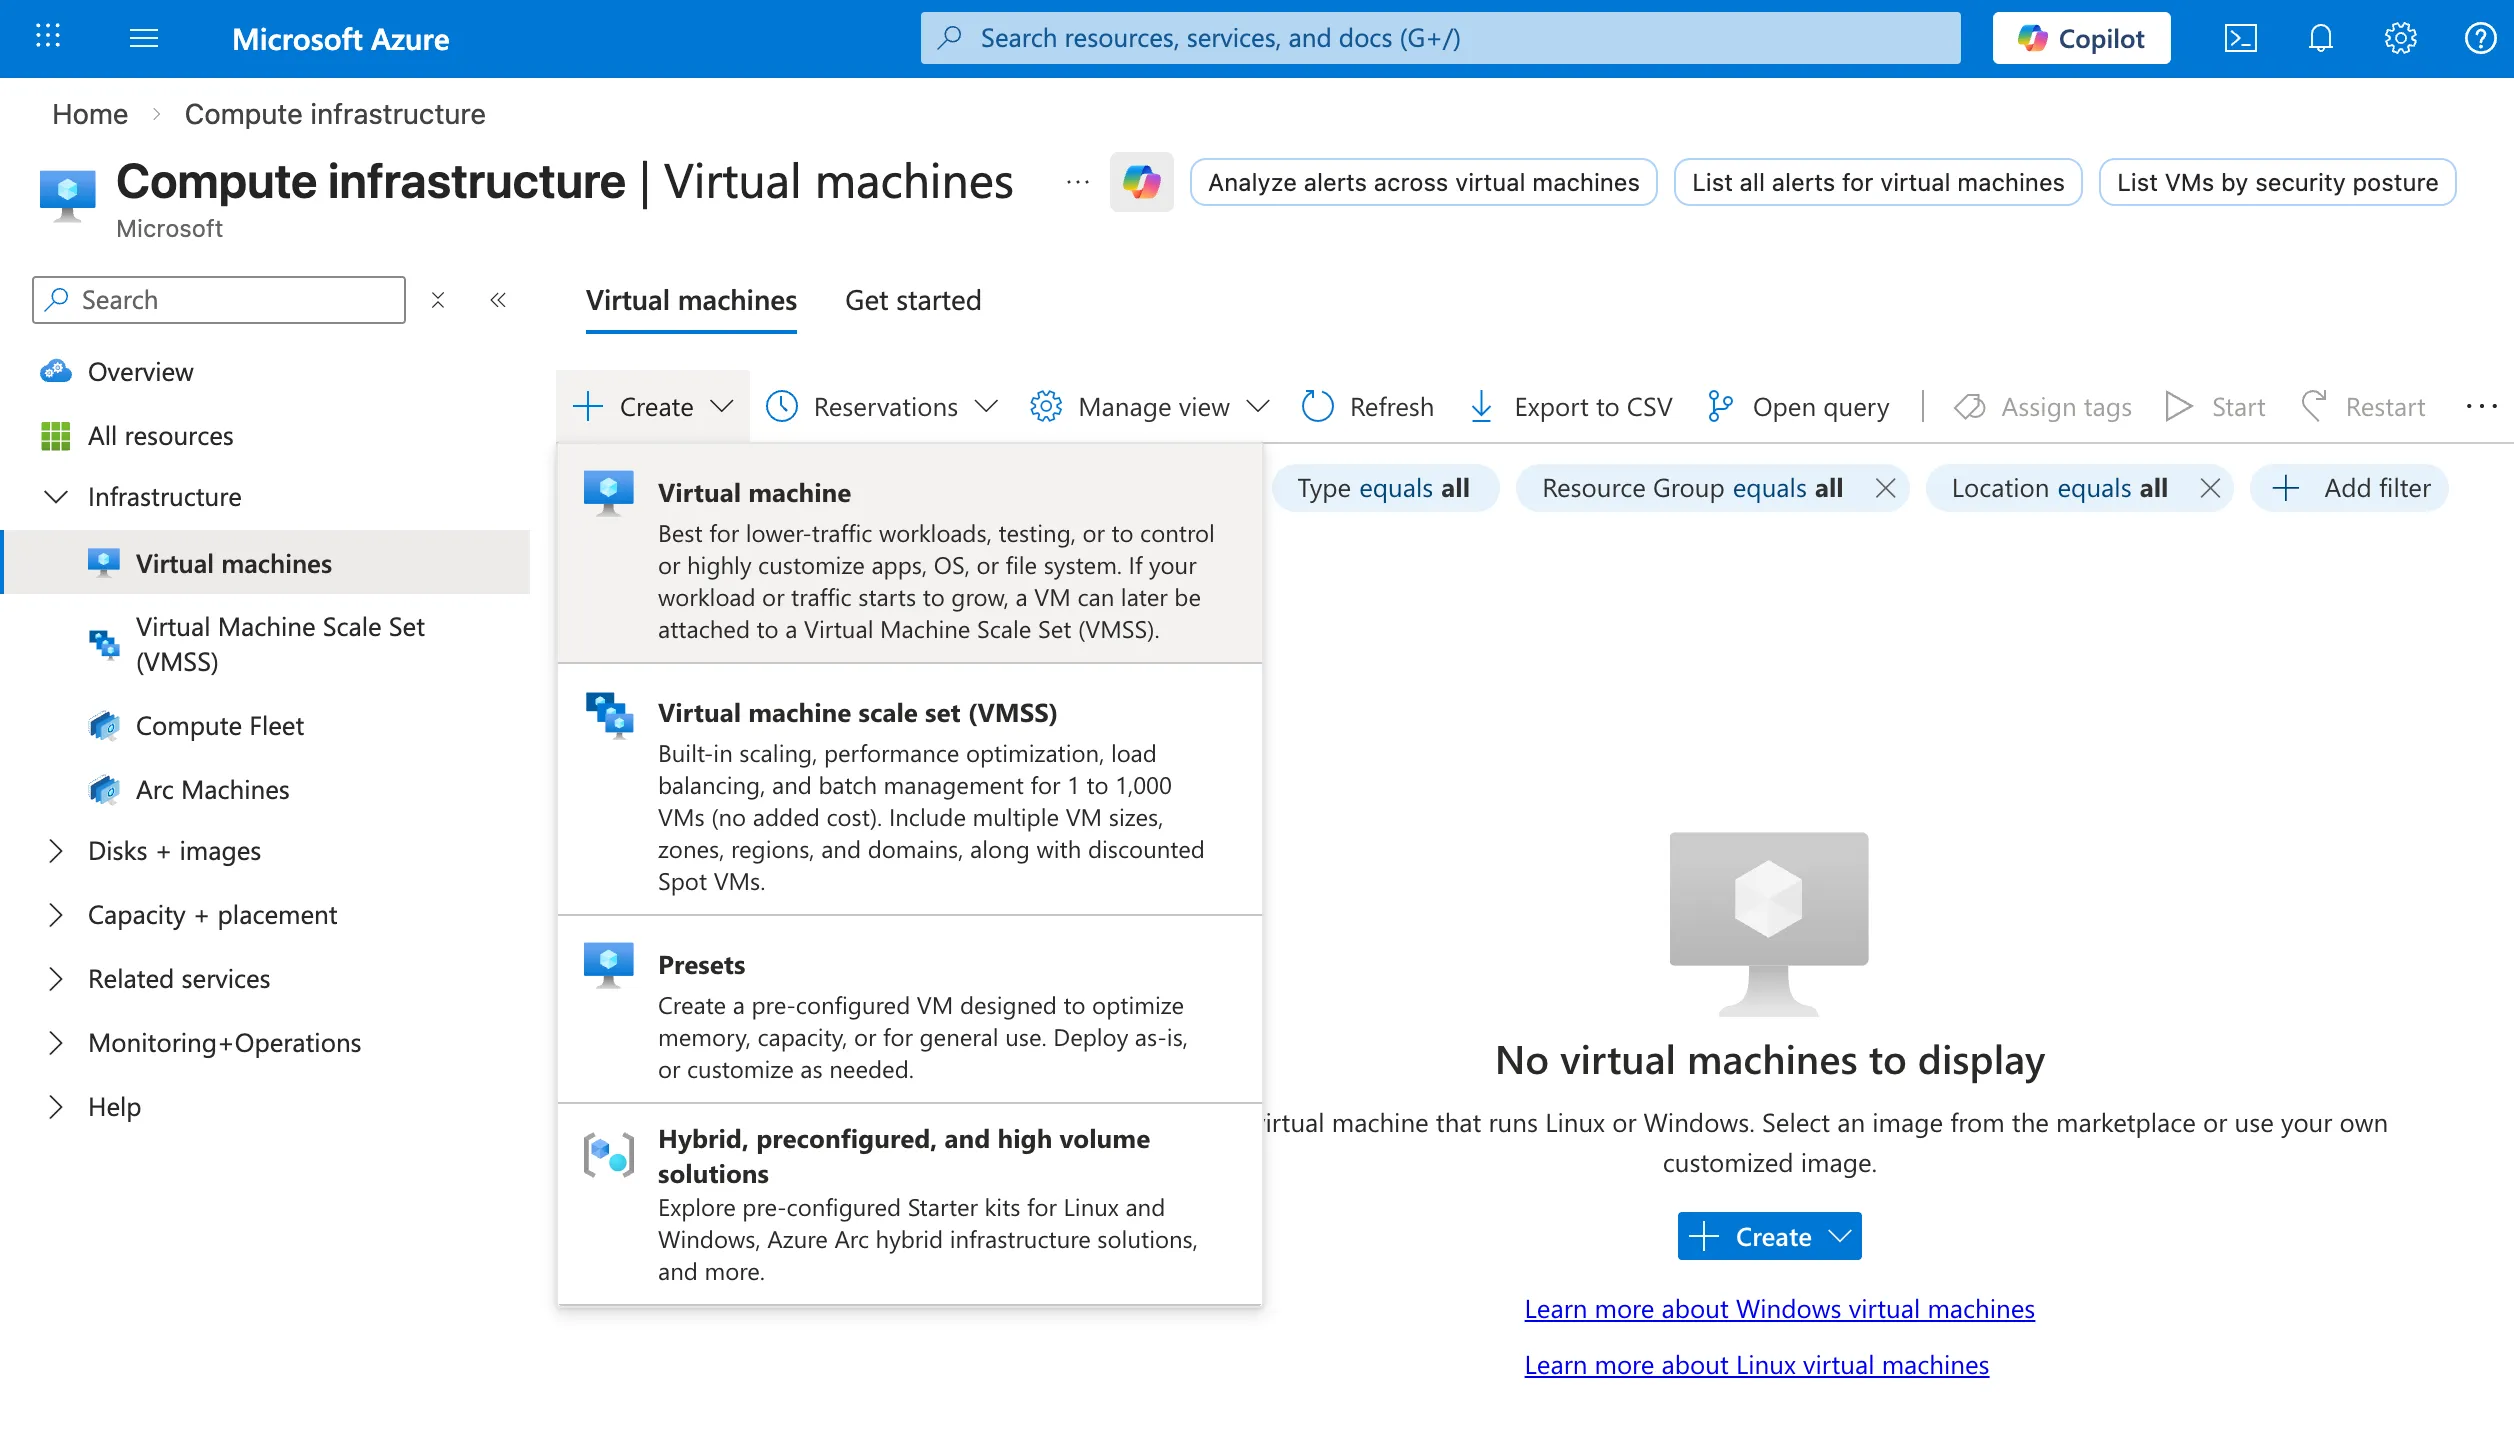
Choose a
Resource Group,Name,Regionaccording to the Virtual network identified in the earlier steps.Set the
Security typeto Standard and click on See all images.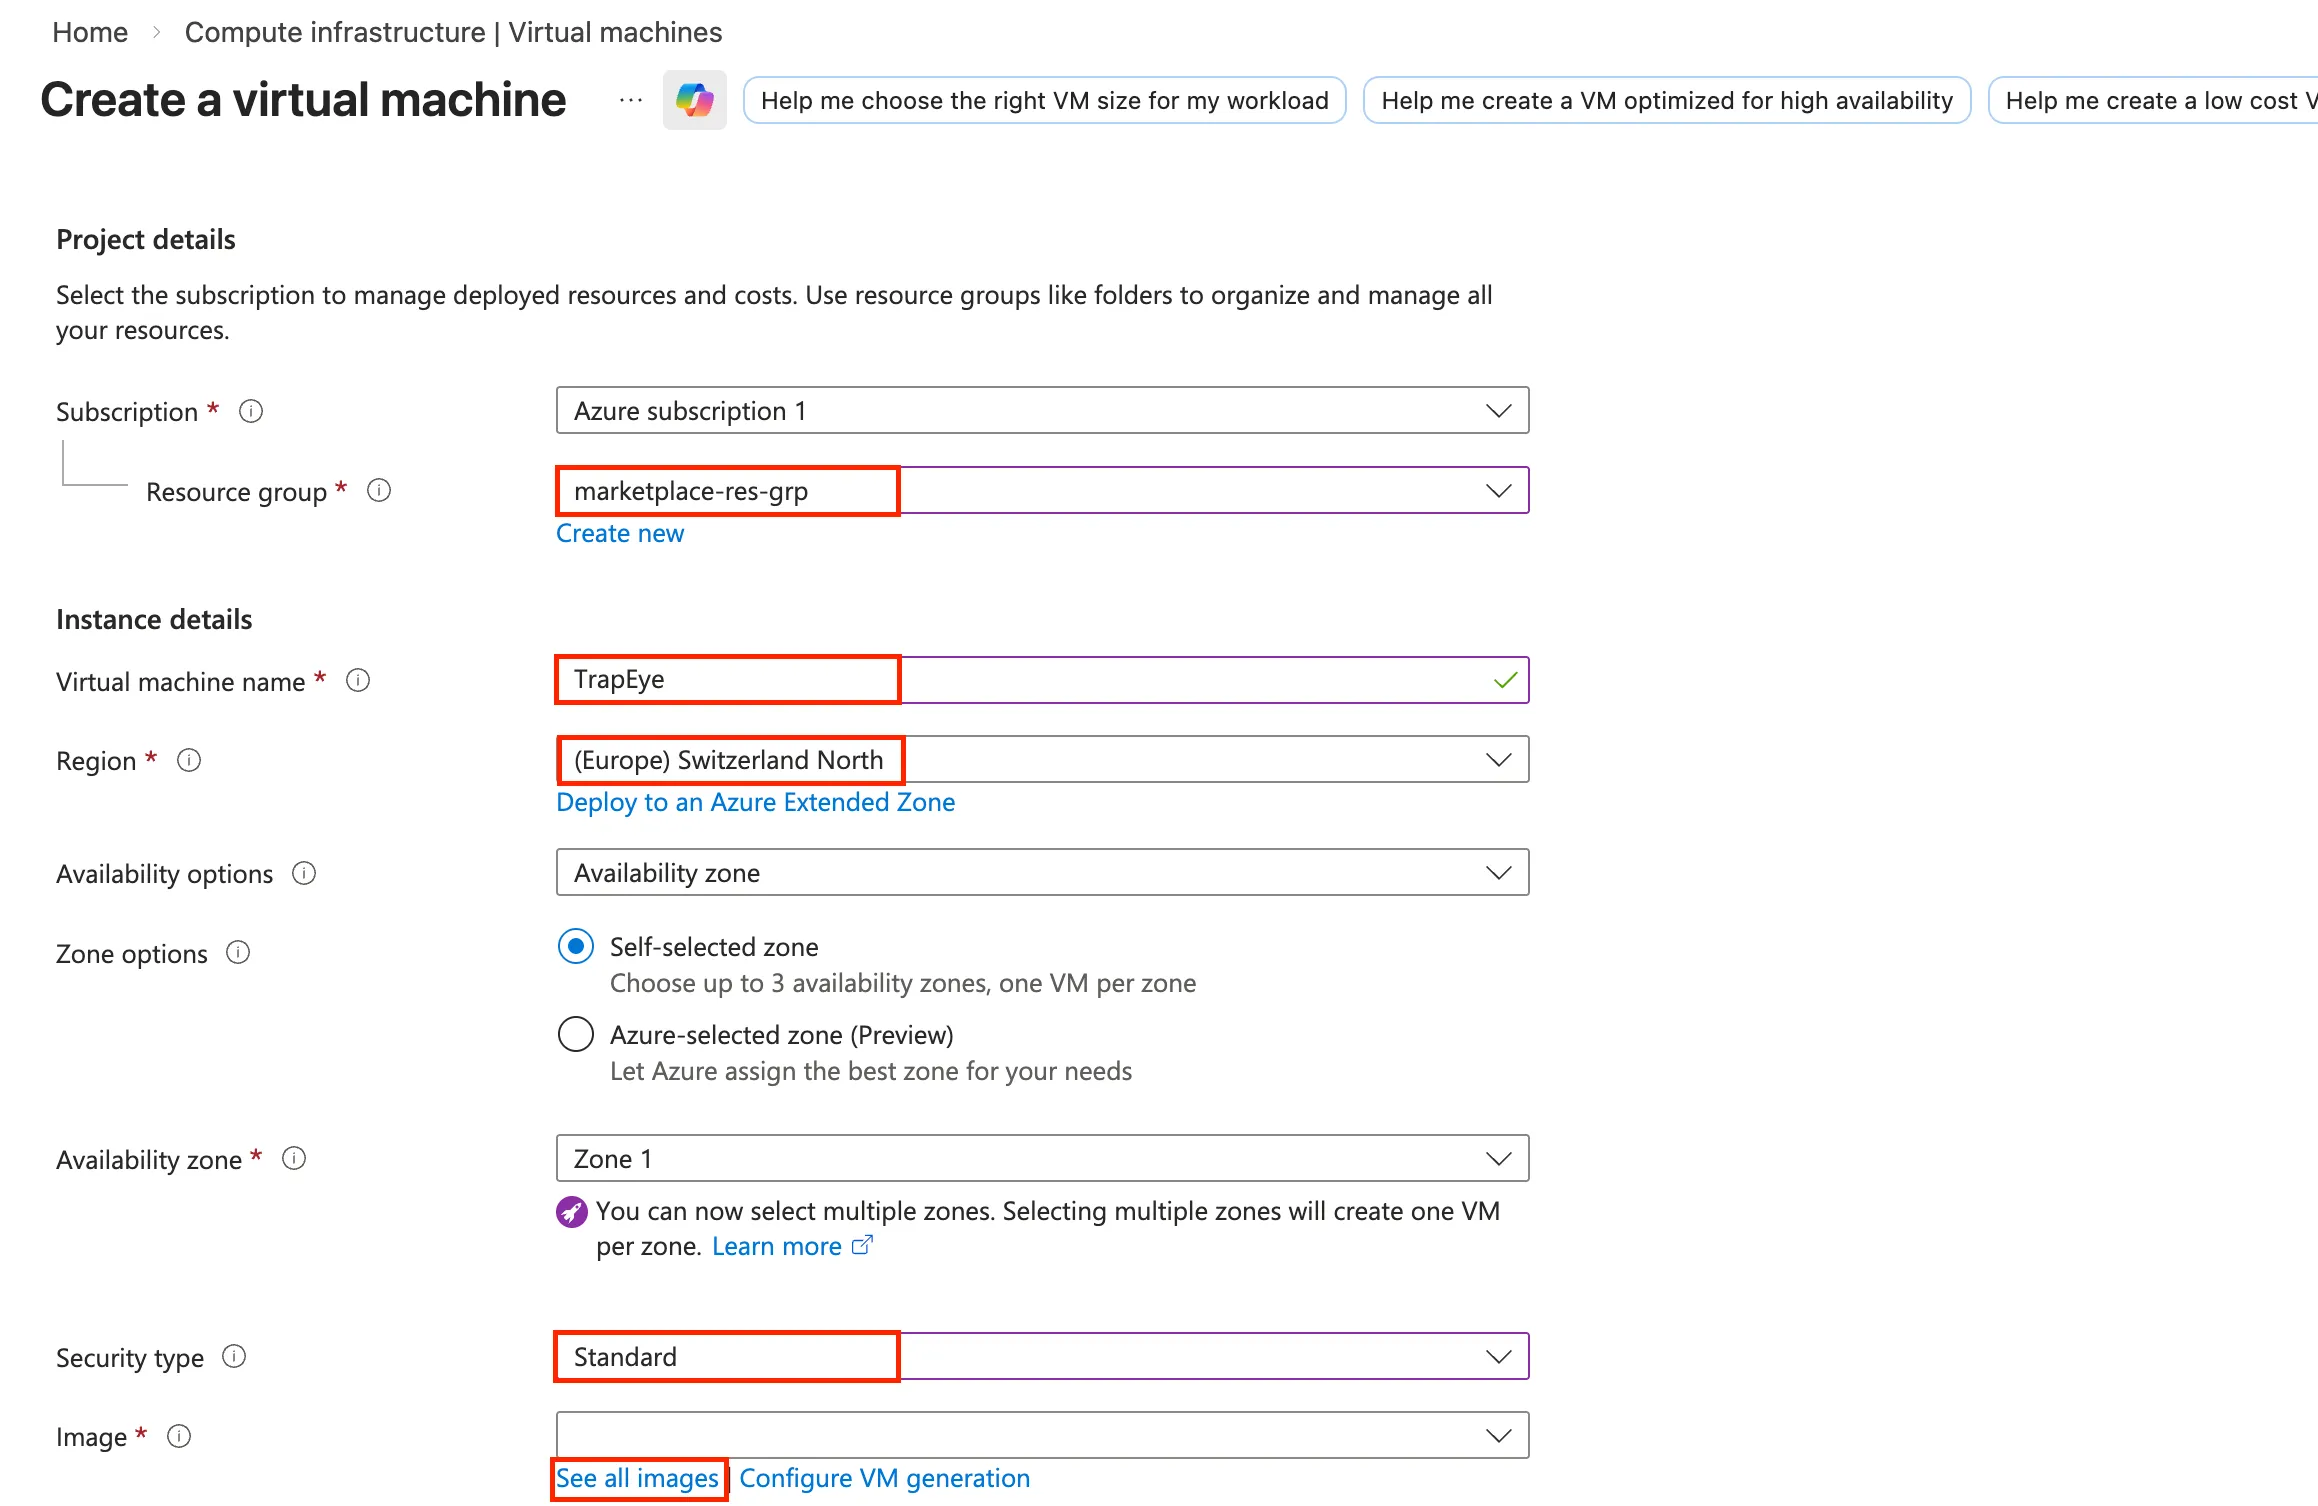
In the Marketplace Search Menu, search for
TrapEyeand select the image from the list.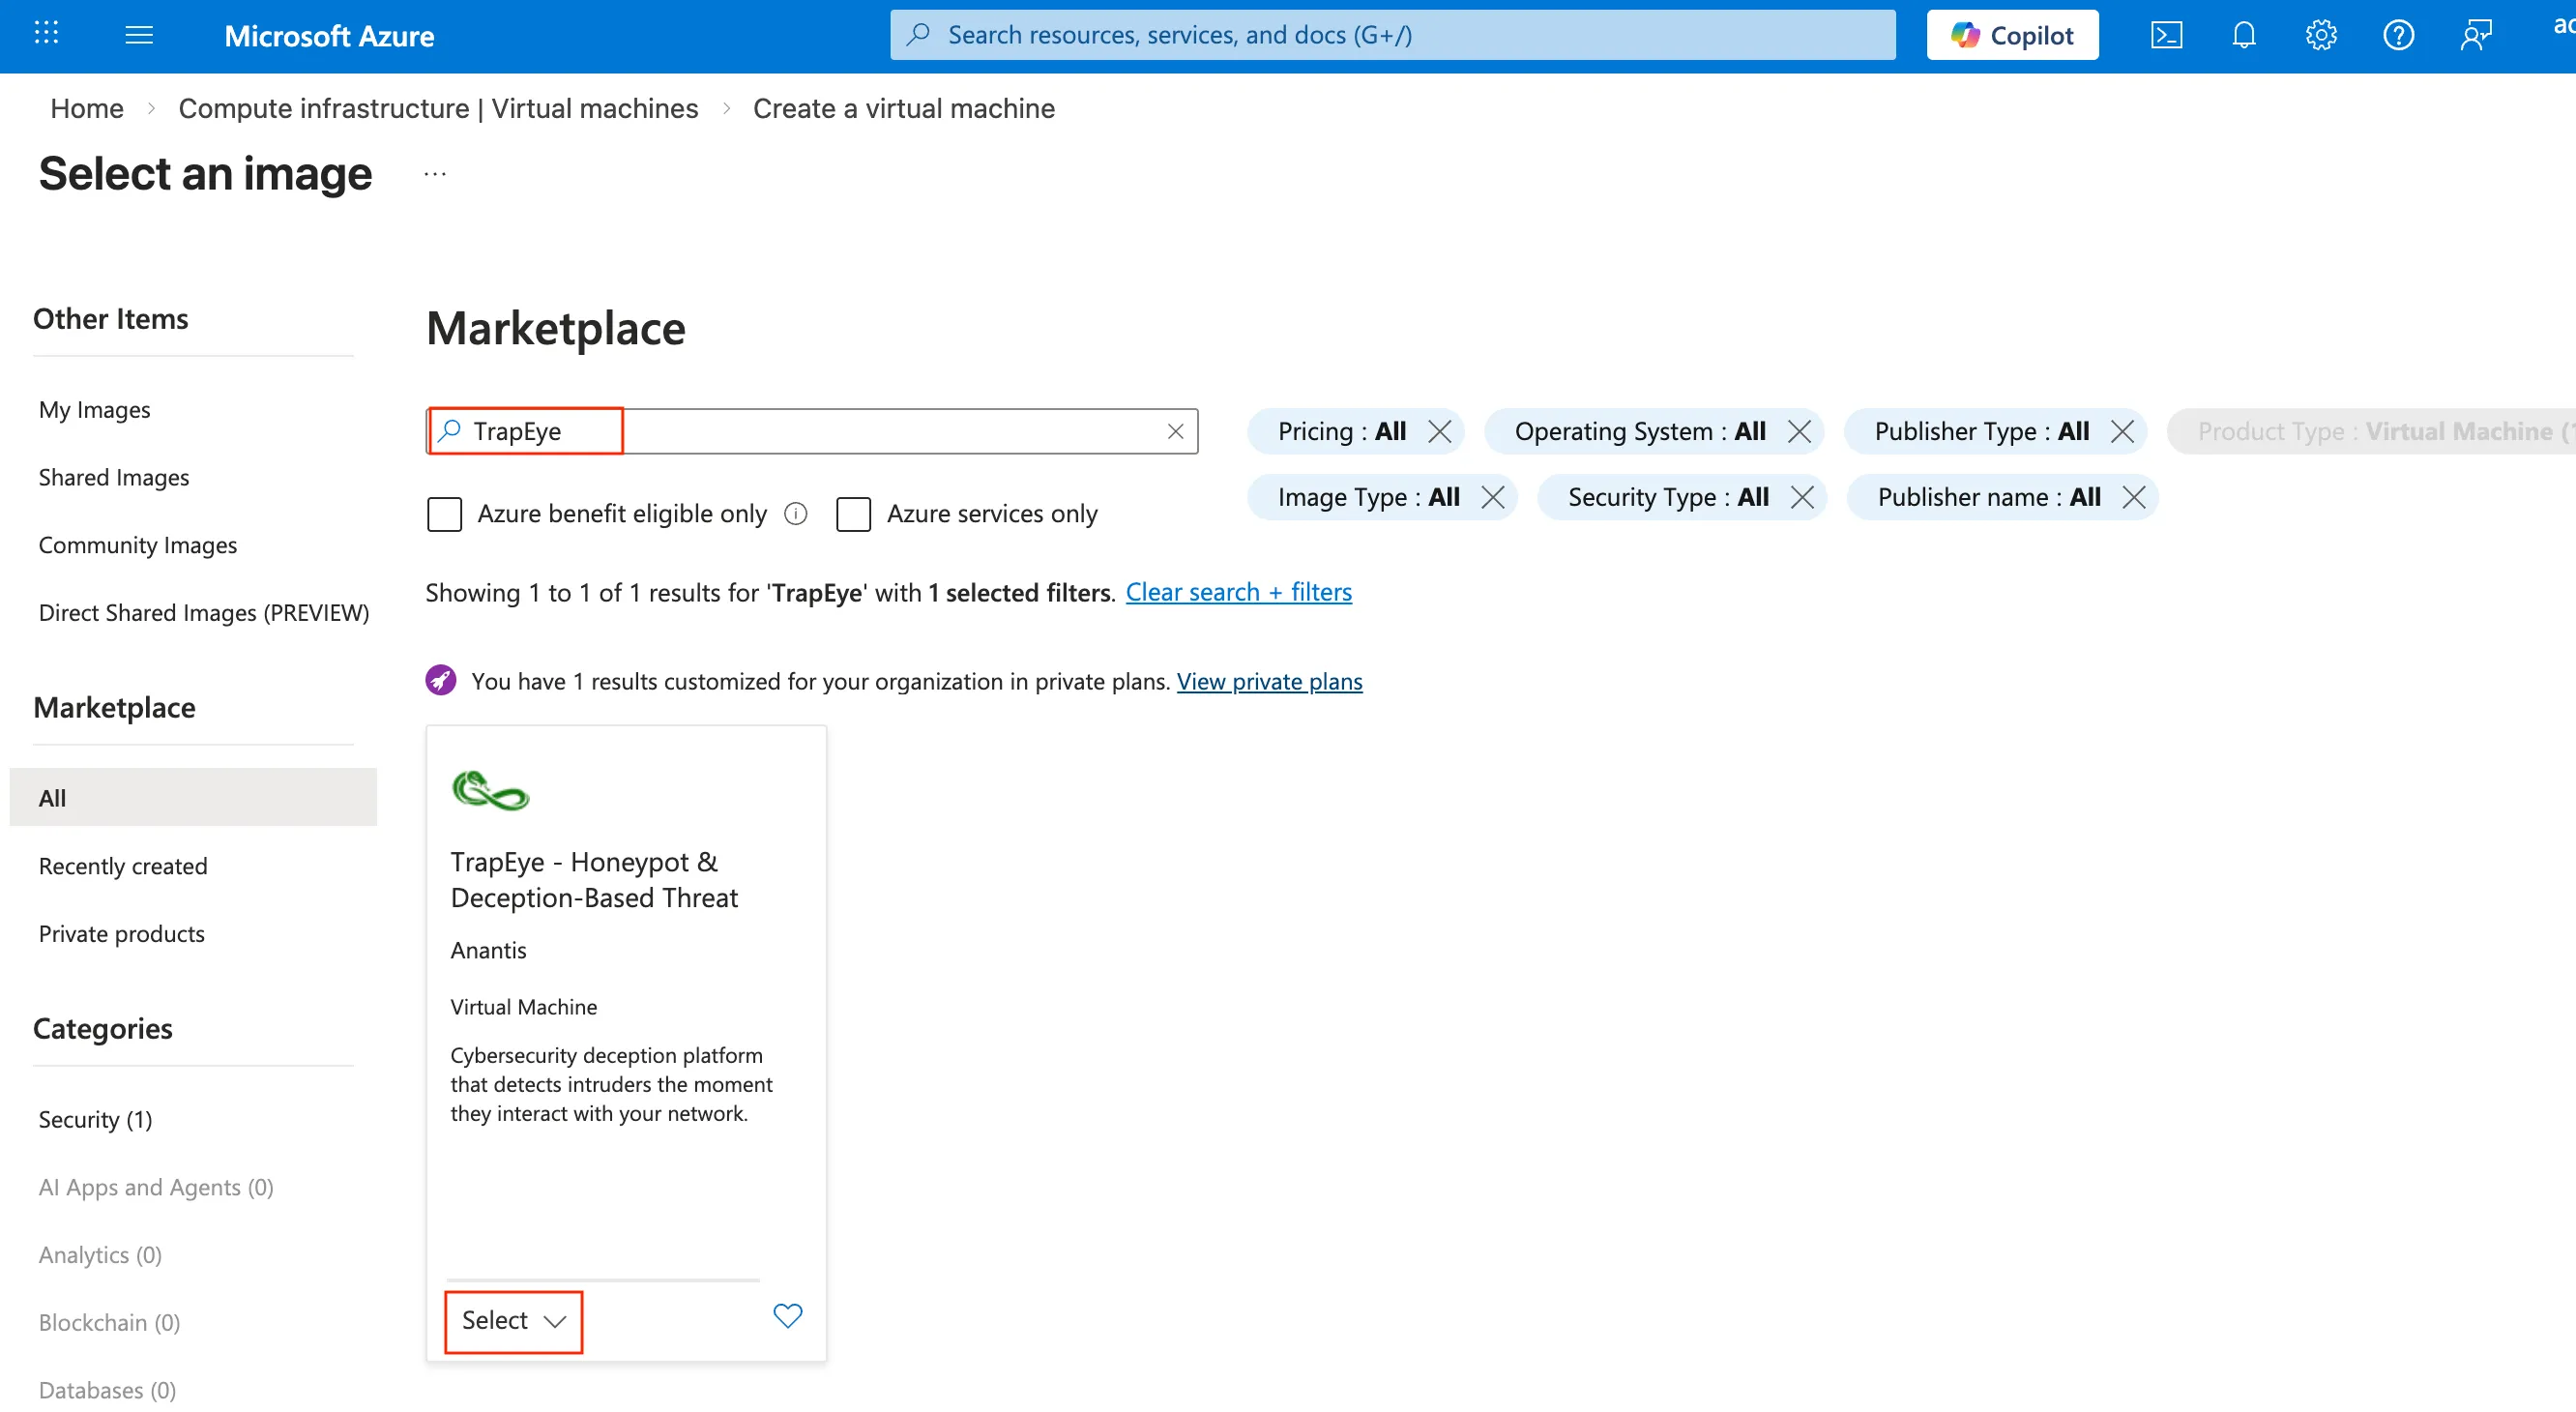
Choose the
Sizefor your virtual machine using the recommended values below:Resource Minimum Value Recommended Value CPU 1 vCPUs 1 vCPUs Memory 1024 MiB (1 GB) 2048 MiB (2 GB) Disk 10GB 10GB You can let the default Administrator Account settings, it will be not be used since the TrapEye image does not support direct access to the virtual machine.
On the Inbound port rules, select
Noneto ensure that no ports are exposed to the internet.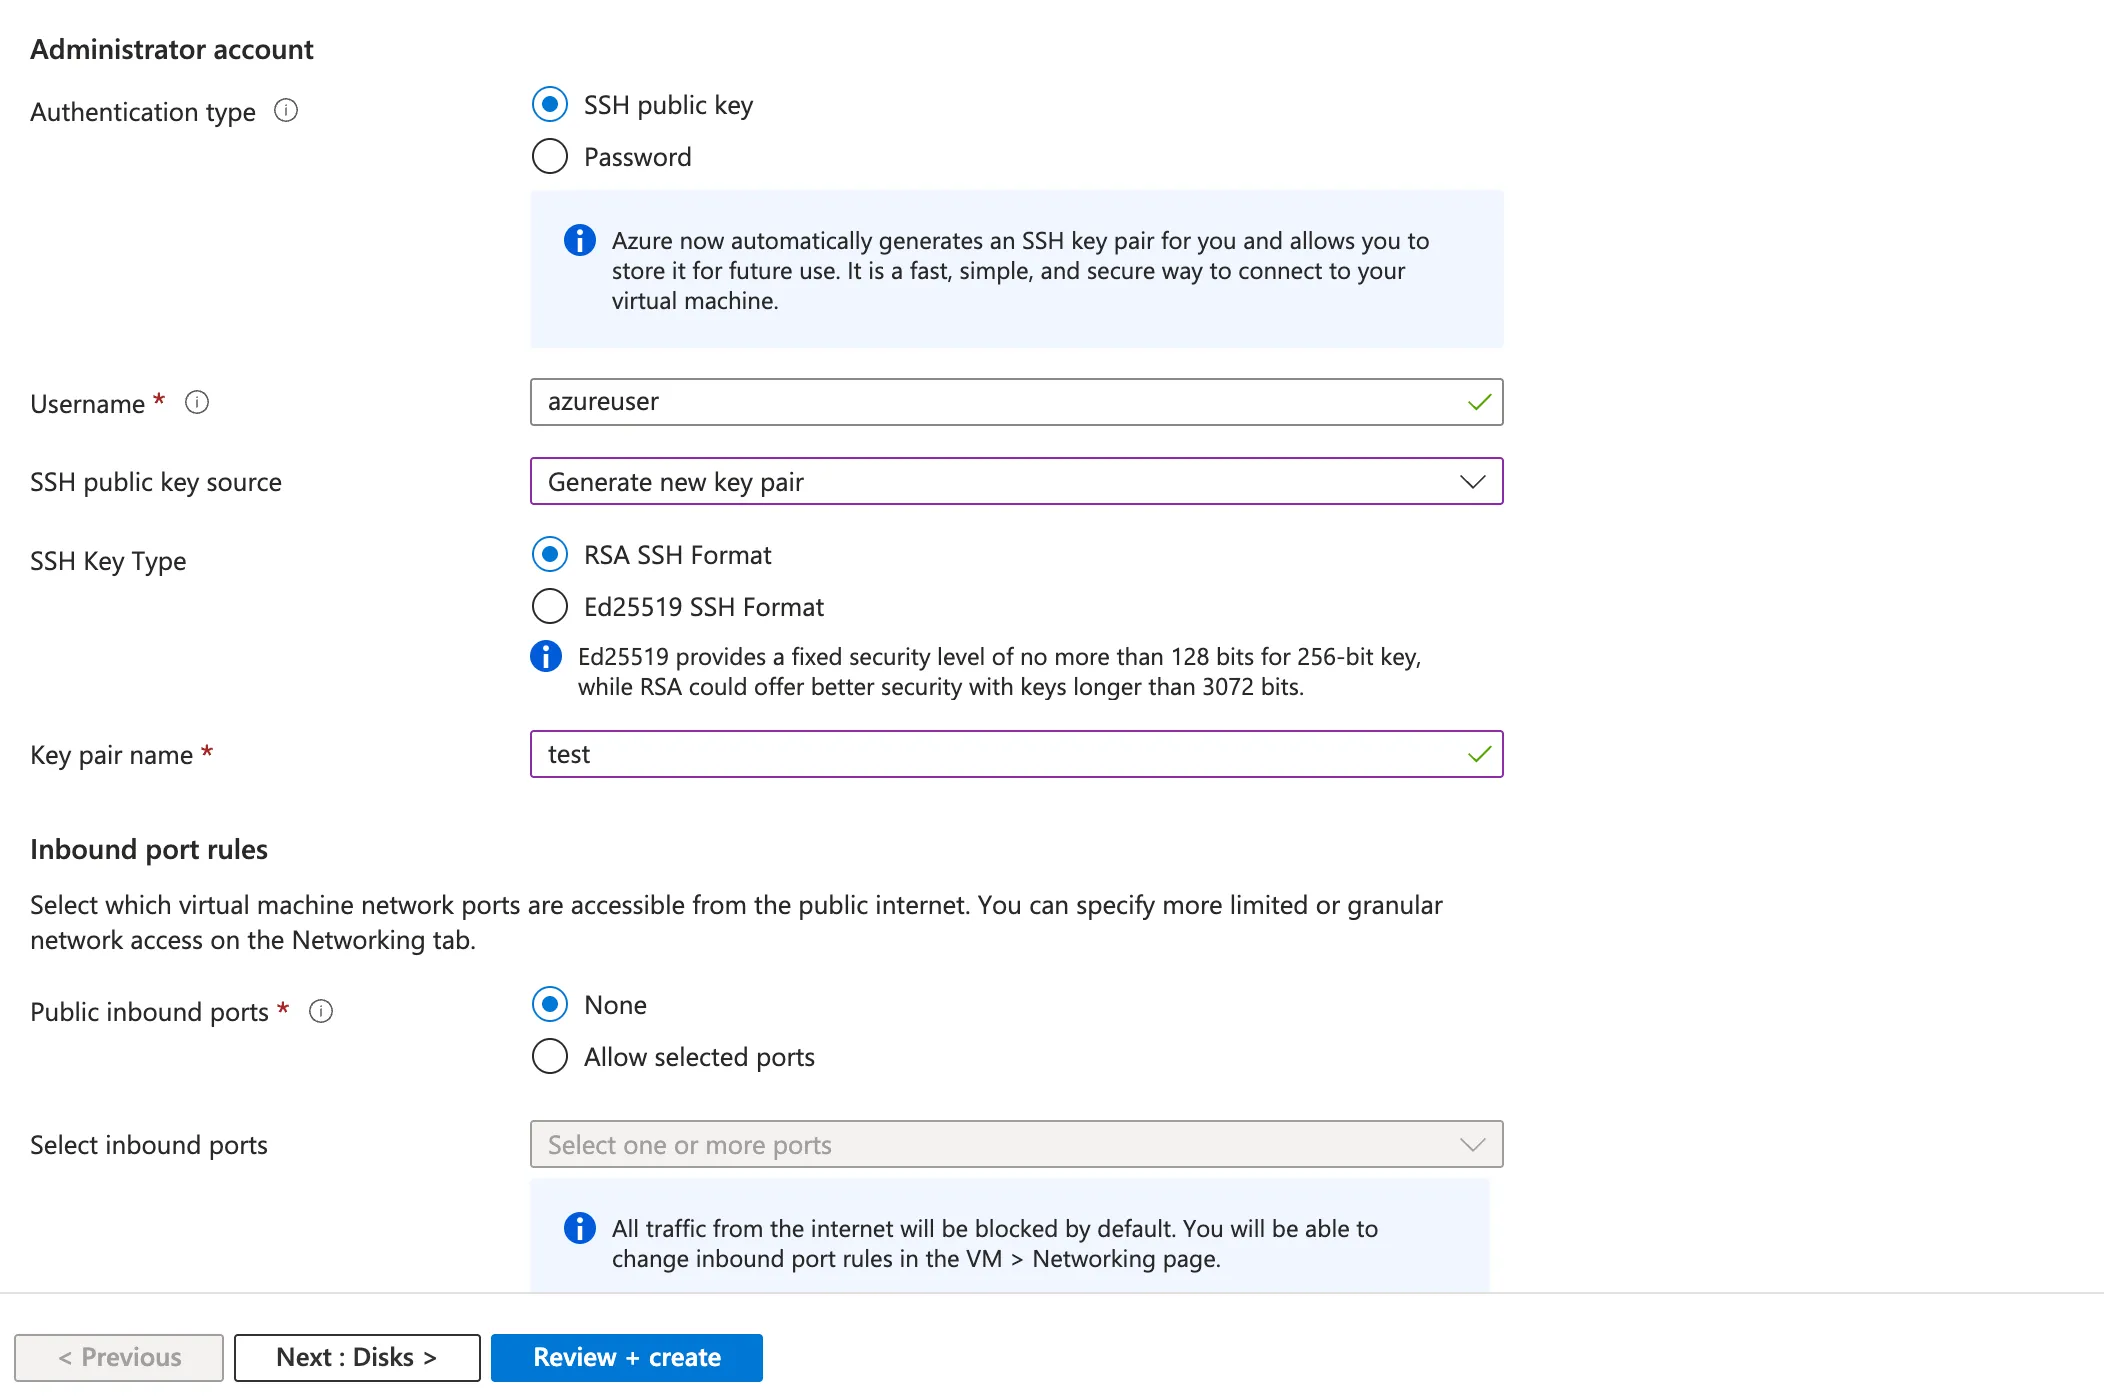
In the
Networkingtab, select the Virtual network identified in the earlier steps. Choose a Subnet.For the
Public IPsetting:- Set it to
Noneonly if your virtual network already has outbound internet access configured via a NAT Gateway or a Load Balancer with outbound rules. - Otherwise, assign a Public IP to ensure the TrapEye instance can reach the ingestion endpoint.

- Set it to
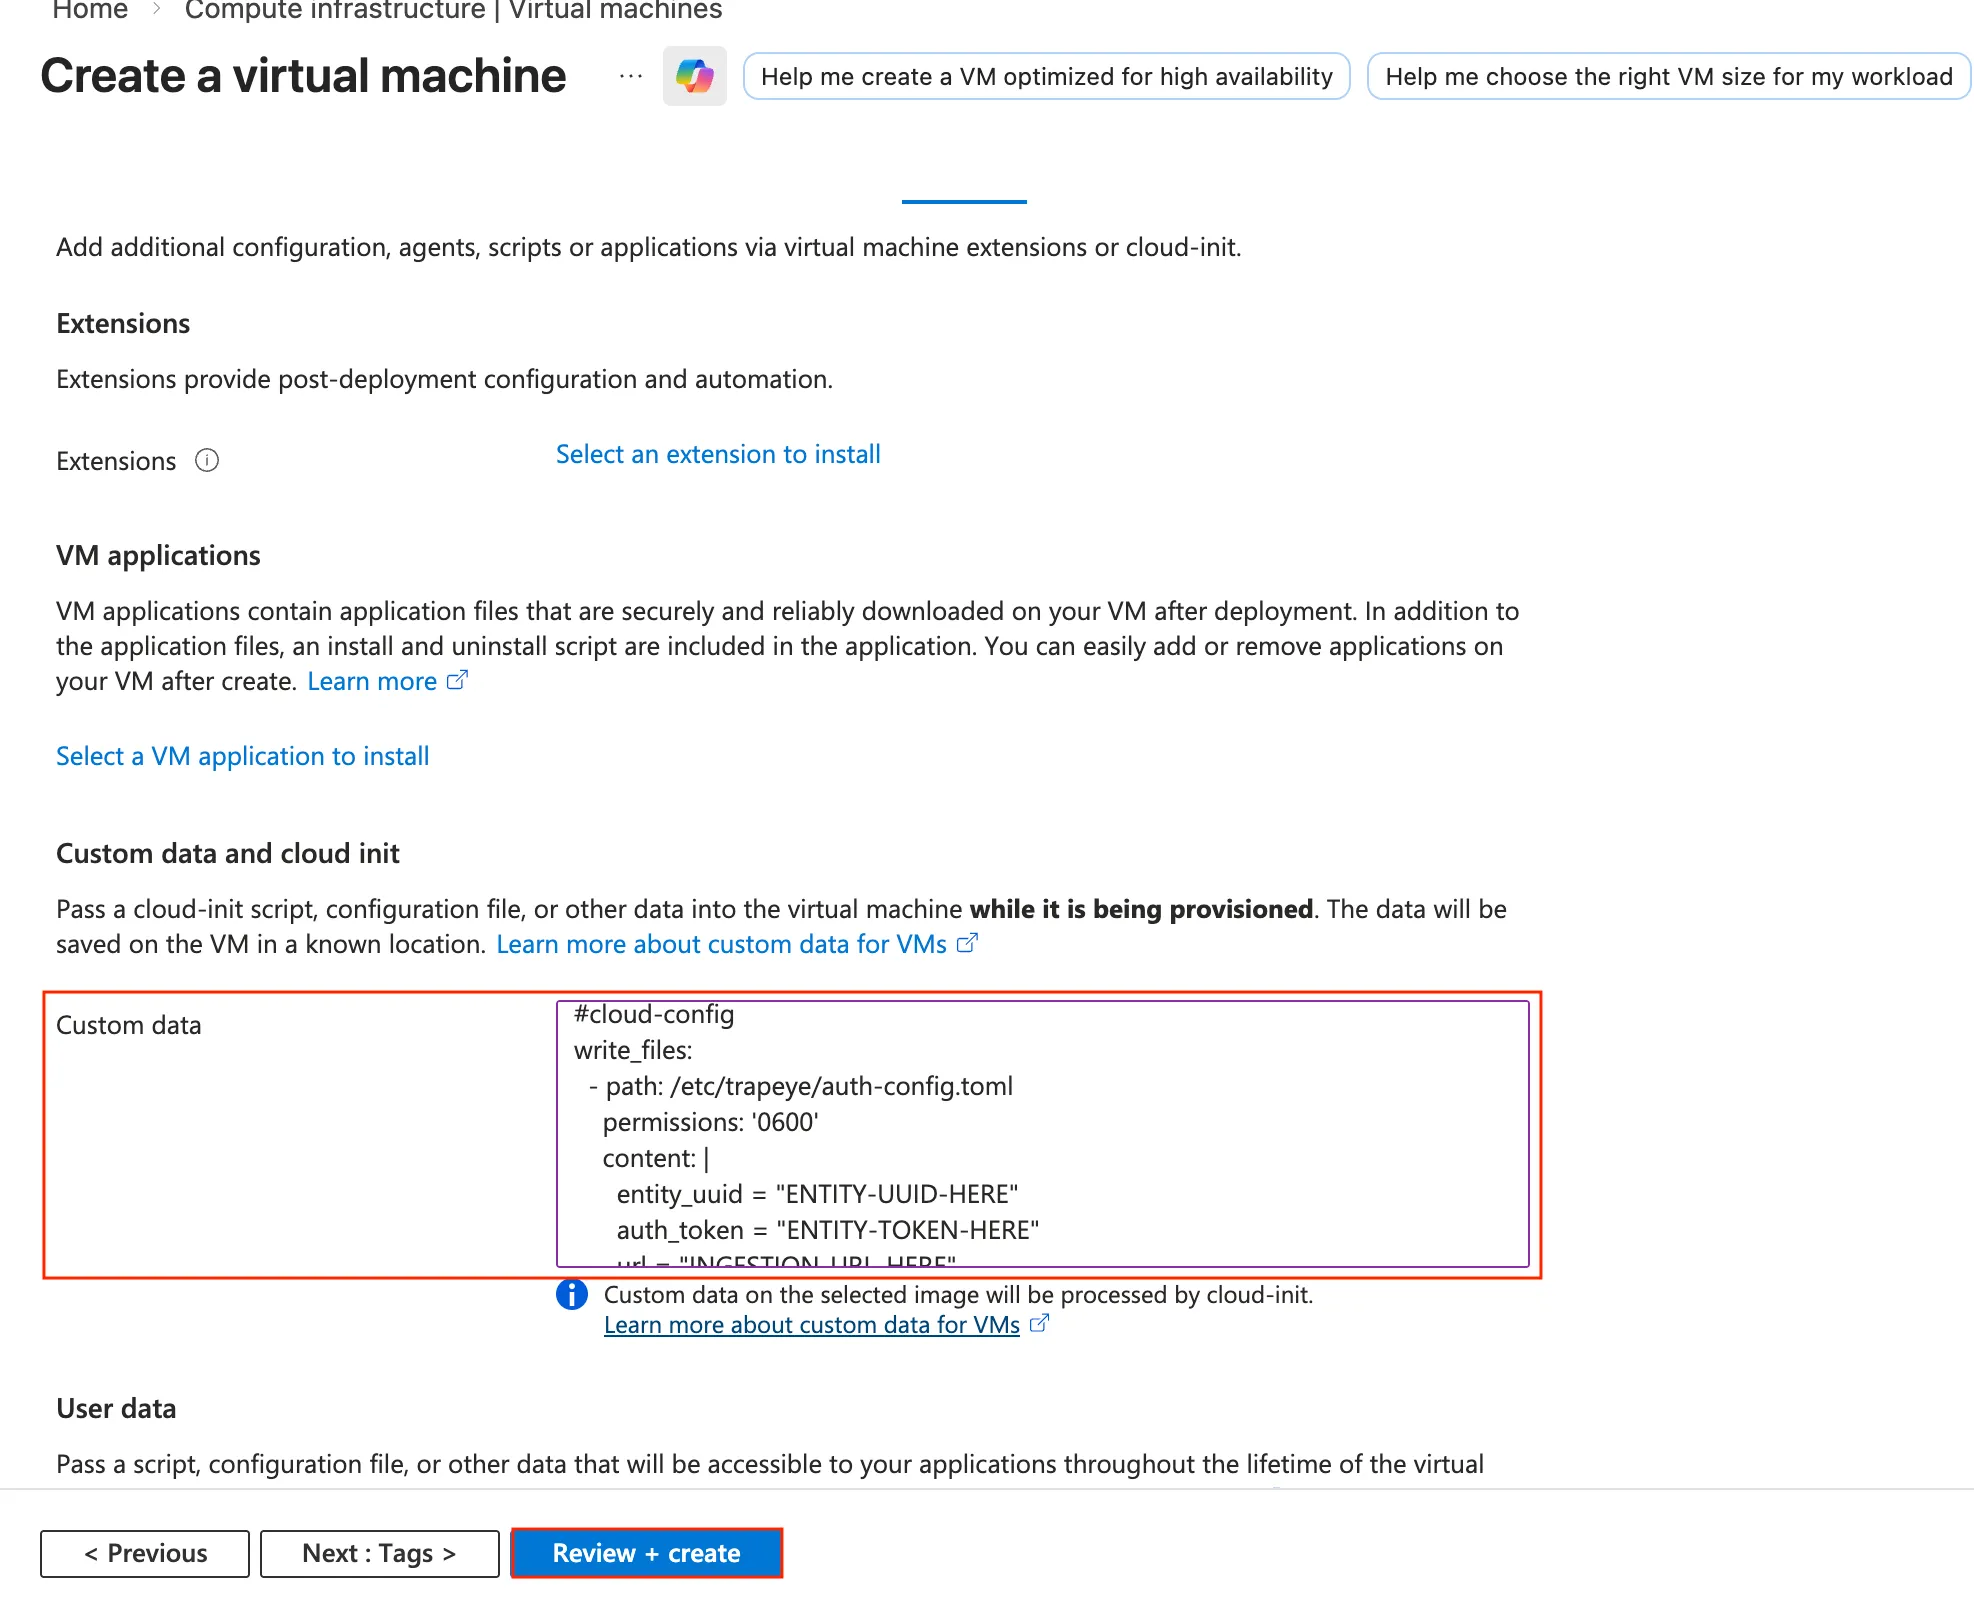
From the TrapEye Platform, go to Management → Installation and copy the values for
entity_uuid,auth_tokenandurl.Replace the placeholder values in the template below with your TrapEye configuration parameters, then paste the final result into the Custom Data field in the
Advancedtab.#cloud-configwrite_files:- path: /etc/trapeye/auth-config.tomlpermissions: '0600'content: |entity_uuid = "ENTITY-UUID-HERE"auth_token = "ENTITY-TOKEN-HERE"url = "INGESTION-URL-HERE"Example:
Click Review + create to build the virtual machine.
Setup complete
Section titled “Setup complete”Your TrapEye virtual machine has been successfully deployed in Azure.
It will now appear in the Devices section of the TrapEye Deception Platform, and you will begin receiving real-time alerts as soon as any activity is detected.